
GST : 27AAFFV7667M1ZA

Call us
08045801431
Call us
08045801431

Micro Sprinkler Irrigation can look simple on a product page: a small head, a hose, and a neat spray pattern. In a real field or greenhouse, the details matter. Soil texture changes how quickly water spreads. Wind can push droplets away from roots. A pressure mismatch may leave plants near the line wet and those farther away thirsty. Buyers need more than a low price.
Soil and water expert Dr. Daniel Hillel’s work highlights the need to match irrigation practices to soil, crops, and local conditions. A practical paraphrase of that principle is: “Choose water delivery to suit the soil and crop, not just the equipment.” It is not a verbatim quotation. That distinction matters when advice is presented as expert guidance.
This guide covers ten practical checks before you buy. Look at operating pressure, flow rate, nozzle size, and spacing. Check whether the system includes filtration; fine particles can block small outlets. Consider water quality, wind exposure, crop height, and root-zone needs. Ask how easily emitters can be cleaned or replaced. Then review installation requirements, spare-part availability, and warranty terms. A small test area can reveal uneven coverage before you commit to a full layout. It takes time. Still, even careful planning has limits: weather shifts, and real soils rarely behave exactly like a chart. Use these tips to compare systems with clearer expectations and fewer costly surprises.
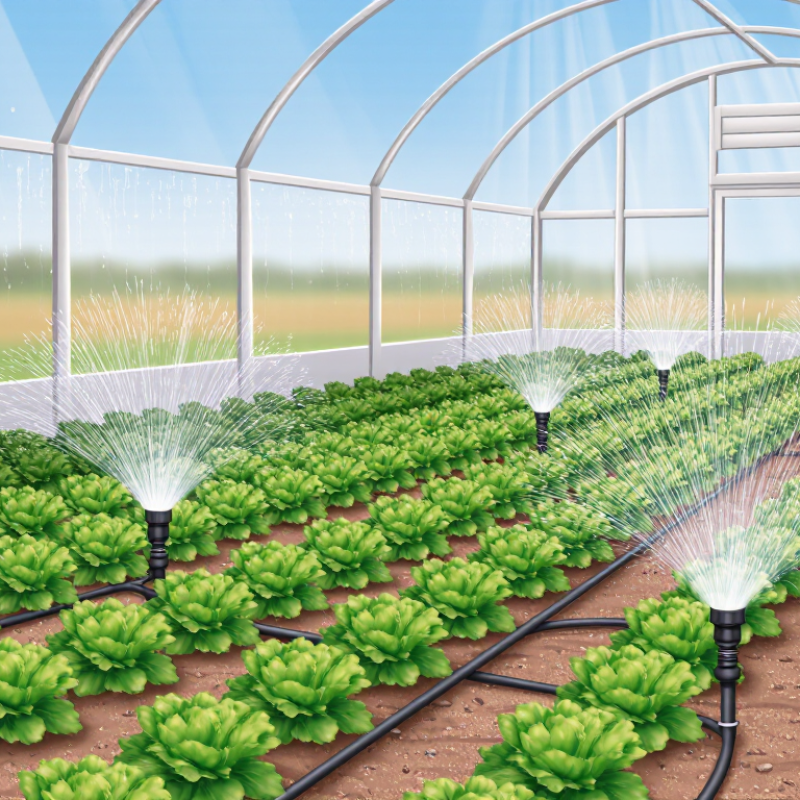
A micro-sprinkler that works well in one field may leave another unevenly watered. Map the crop layout, soil, wind, and water supply before comparing models. Note plant spacing, row direction, and canopy size; young trees and dense foliage may need different spray patterns. Check soil texture, too. Sandy soil drains quickly, while clay can absorb water slowly and puddle near emitters. Small details matter.
Tips: Set out catch cups across a test area and run the system under typical conditions. Compare collected water, especially at the edges. Check wind at the time you usually irrigate; a light breeze can shift fine droplets. Record the result. One test is useful, but it may not represent every season.
Review the water source for flow, pressure, and visible sediment. A filter may be needed to protect small passages, but its suitability depends on the water and emitter specifications. Ask how much area each sprinkler covers at the operating pressure you can actually maintain. Leave room to adjust spacing after observing real coverage. I have seen a neat layout on paper miss a dry strip beside a tree row; field checks can catch that before installation spreads.
| # | What to Map or Check | Practical Guidance | What to Consider When Choosing |
|---|---|---|---|
| 1 | Crop type and growth stage | Record crop spacing, canopy size, root-zone depth, and whether foliage or soil needs watering. Young plants and mature trees may need different wetted areas. | Match the spray pattern and placement to the crop layout. Check that the wetted area can reach the intended root zone without routinely spraying trunks, flowers, or fruit. |
| 2 | Planting layout and row spacing | Map row lengths, plant-to-plant distances, headlands, and any gaps or irregular blocks. Note obstacles such as posts, walls, and machinery lanes. | Compare the sprinkler’s stated wetted diameter and recommended spacing with the actual layout. Allow for overlap where needed and avoid assuming the maximum diameter will be achieved in every field. |
| 3 | Soil texture and infiltration | Identify whether the soil is sandy, loamy, or clayey. Sandy soils generally accept water faster but store less; clayey soils often absorb water more slowly and may be prone to ponding. | Choose an application rate and operating schedule that the soil can absorb. Use shorter or more frequent runs where slow infiltration or runoff is a concern. |
| 4 | Root-zone depth and soil moisture | Check soil moisture at several depths in representative areas. Rooting depth can vary with crop, soil conditions, and plant age. | Plan run times around the crop’s root zone and measured water needs, rather than using a fixed schedule for every block. Avoid prolonged watering that moves water below the roots. |
| 5 | Prevailing wind and exposure | Record typical wind direction and conditions during intended irrigation hours. Open fields, slopes, and field edges may be more exposed than sheltered areas. | Wind can distort spray patterns and increase drift. Consider irrigation during calmer periods, suitable sprinkler placement, and field testing under representative conditions. |
| 6 | Water source flow and pressure | Measure available flow and pressure at the supply point and, if possible, at the far end of a representative irrigation line while the system is operating. | Check the selected sprinkler’s specified operating pressure and flow against the system’s capacity. Include pipe friction, elevation changes, filters, and valves in the system design. |
| 7 | Water quality and filtration | Check for suspended sediment, algae, organic matter, and dissolved minerals. Use a water test when the source quality is uncertain. | Select filtration to meet the emitter’s requirements and the water source’s needs. Follow the irrigation system’s guidance for filter type, mesh or screen rating, and cleaning frequency. |
| 8 | Land slope and elevation changes | Map high and low points and note steep or uneven sections. Elevation differences can change pressure along a line. | Check whether pressure regulation, separate irrigation zones, or a layout adjustment is needed to keep application reasonably uniform across the block. |
| 9 | Water demand and scheduling limits | Estimate crop water needs using local weather, crop stage, soil moisture, and rainfall. Note any limits on pumping hours or water allocation. | Compare the system’s total flow with the water available during the planned run time. Divide the area into manageable zones if the source cannot supply the whole block at once. |
| 10 | Maintenance access and field conditions | Identify areas prone to dust, weeds, equipment traffic, animal damage, or frequent sediment buildup. Check how easily lines and sprinkler heads can be reached. | Favor a layout that can be inspected, flushed, and repaired conveniently. Confirm availability of compatible parts and plan routine checks for clogging, leaks, and damaged heads. |

 Send Inquiry


