7 Tips for Choosing Commercial Spot Lights
Commercial spotlights do more than brighten a display. They guide attention, reveal surface detail, and affect visual comfort, energy use, and maintenance. A poorly aimed beam can create glare on polished stone or leave merchandise unevenly lit. Small choices matter.
The U.S. Department of Energy’s 2022 Energy Savings Forecast of Solid-State Lighting in General Illumination Applications projected substantial electricity savings as LED adoption expands. Its modeled 2035 scenario estimated annual savings of about 569 terawatt-hours against a baseline. That is a forecast, not a guarantee for every project. The International Energy Agency’s Energy Efficiency 2023 report also highlights the role of efficient technologies in reducing energy demand. Together, these sources make efficiency a practical design concern, not just a marketing claim.
Choosing a Commercial Spot Light involves more than comparing wattage. Beam angle, lumen output, color quality, dimming compatibility, heat management, and service access all affect performance. A narrow beam may make a product stand out, yet cast harsh shadows nearby. There is no universal best fixture. Room geometry, ceiling height, finishes, and viewing distance change the result.
The seven tips ahead offer a grounded way to compare options. Check specifications against the actual space, then test a sample where possible. Even detailed product data cannot fully predict how light will feel at eye level. That uncertainty deserves a second look.
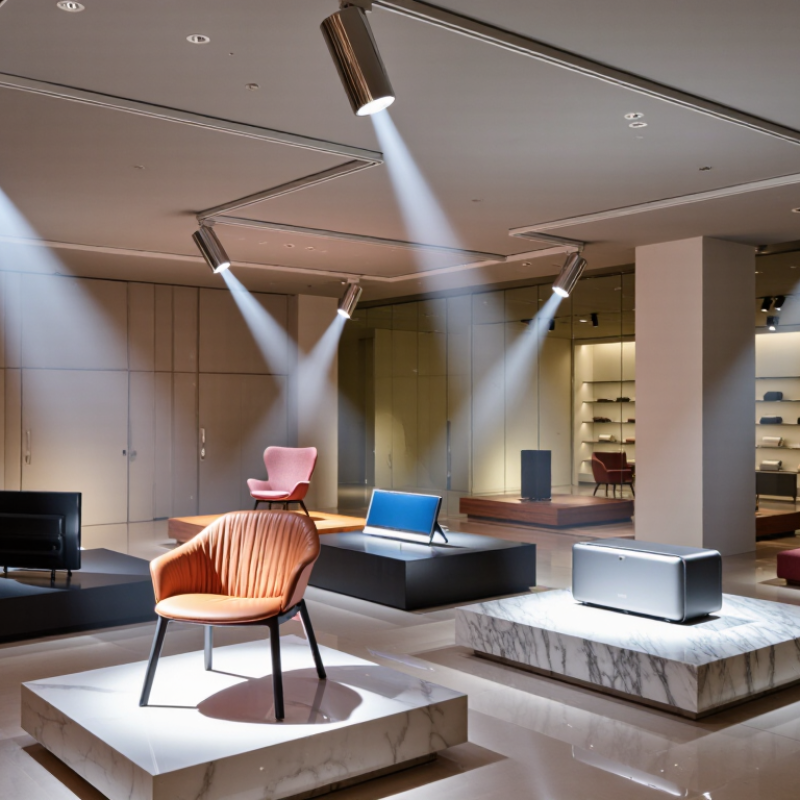
Identify the Purpose and Requirements of the Commercial Space
Before selecting commercial spot lights, define what each area must do. A boutique fitting room needs flattering, even vertical light; a café counter needs clear task lighting; a gallery may need adjustable beams for changing displays. Note ceiling height, surface colors, daylight, operating hours, and likely maintenance access. These details affect beam angle, output, color quality, and placement. A narrow beam can create dramatic accents, but it may leave dark patches on nearby walls.
Tip: Sketch the space and mark key tasks, focal points, and reflective surfaces. Then compare the sketch with a mock-up or sample fixture before specifying quantities. The U.S. Department of Energy reports that lighting uses about 17% of electricity in commercial buildings, so operating hours and control needs matter too. Consider dimming or occupancy controls where appropriate, rather than assuming every area needs full output all day. The first layout is rarely perfect.
Ask staff where shadows, glare, or dim corners already cause problems. Check how light falls on faces, merchandise, signs, and work surfaces at different times of day. IES lighting recommendations vary by visual task, so use the relevant guidance for the actual space instead of one blanket brightness target. A quick on-site trial can reveal issues a floor plan misses. It takes extra time, but it can prevent an expensive mismatch.
Choose the Right Beam Angle and Light Output
Beam angle determines how widely light spreads, while light output describes the amount of visible light produced. A narrow beam can highlight a display or sign, but it may leave nearby surfaces dim. A wider beam covers more floor or shelving, though its light may feel less focused. Both choices depend on mounting height, target size, and surrounding surfaces.
Tip: Match the beam to the target. For a small feature or tall shelf, a tighter beam may help concentrate light. For a counter or broad display, a wider beam can reduce dark gaps. Check the fixture’s beam-angle data, then compare it with a simple layout of the space. Small changes in aiming can matter.
Choose output for the task, not just the fixture’s stated lumens. A bright spot aimed at a glossy surface can create glare, while dark finishes may absorb more light than expected. If possible, test one fixture at the intended height before specifying a full installation. A common planning miss is judging brightness from a product sheet alone. It is an imperfect shortcut; room colors and sightlines change the result. Consider dimming where tasks vary, and review the space from the customer’s usual viewing position.
Compare Color Temperature and Color Rendering
Color temperature shapes how a commercial space feels and how surfaces appear. Warm white light, around 2700K to 3000K, can make wood, fabric, and dining areas feel inviting. Neutral white, often 3500K to 4000K, tends to suit retail displays, offices, and galleries. Cooler light may help create a crisp look, but it can make some finishes feel flat or bluish.
Color temperature is only part of the decision. Color rendering describes how accurately a light source reveals colors compared with natural reference light. Check the CRI rating, especially when illuminating clothing, food, artwork, or product displays. A CRI of 90 or higher is often a useful target for color-sensitive spaces, though it does not guarantee every hue will look ideal. Small differences matter.
When comparing commercial spot lights, test samples on the actual materials and under the planned ceiling conditions. A red fabric swatch may look rich in one beam and dull in another. Also consider beam angle, distance, and nearby daylight; each can change the appearance. I would not choose by specification sheet alone. It is an easy mistake. View the light in the room at the time it will be used, and check whether neighboring fixtures produce a consistent color. Perfect uniformity is not always practical, but visible mismatches deserve attention.
7 Tips for Choosing Commercial Spot Lights: Compare Color Temperature and Color Rendering
Suggested starting points by application. Color temperature is shown in kelvin (K); CRI is shown on a 0–100 scale. Choose the final lighting based on the space, materials, and desired appearance.
These are practical design recommendations, not measured product data or universal requirements. Higher CRI can help reveal color differences more faithfully; the best color temperature depends on the setting and the effect you want.
Check Fixture Quality, Efficiency, and Compatibility
Tip 1: Check the fixture’s construction before comparing prices. Look for a firm housing, cleanly finished edges, and adjustable joints that hold their position. A loose aiming head can drift after installation. Small details matter. Ask for rated operating temperature and warranty information, too; a bright sample alone cannot show how well it handles daily use.
Tip 2: Compare efficiency alongside light output. Check lumens and watts together, then consider whether the beam suits the task. A narrow beam can highlight a display, while a wider beam may work better for shelves or work areas. Measure twice. Dimming can also reduce wasted light, but confirm that the fixture and dimmer are compatible. Numbers on a specification sheet help, though they do not fully predict how a space will feel.
Tip 3: Verify compatibility before ordering. Match the fixture’s voltage, mounting method, beam angle, and control requirements to the site. Check ceiling clearance and track or housing dimensions against actual measurements. If the existing wiring or controls are unclear, have a qualified professional review them. I might be tempted to choose the brightest option, but excessive glare can make products harder to see.
Plan Installation, Controls, and Ongoing Maintenance
Plan each commercial spot light around the task below it, not just the ceiling grid. Mark display edges, counters, and walkways on a floor plan. Then check mounting height and beam angle; a narrow beam can create harsh bright patches on glossy surfaces. Leave room to adjust aiming after furniture and shelving are installed. Test before closing the ceiling. A mock-up with one fixture can reveal glare that drawings miss.
Decide how lights will be controlled before wiring begins. Separate zones for sales floors, work areas, and feature displays allow staff to adjust brightness without darkening the whole space. Confirm that dimmers match the fixture’s driver, and test sensor placement during normal operating hours. A sensor facing a sunny window may behave differently in the afternoon. Small details matter. Even careful plans can overlook how customers move through a space, so keep control settings easy to revise.
Set a practical maintenance routine from day one. Record fixture locations, control settings, and installation dates; these notes help staff spot changes over time. Schedule checks for dust on lenses, loose aiming, flicker, and uneven color. Clean only with suitable materials, and isolate power before servicing. Use a qualified technician for electrical work. Some access points may prove awkward once displays are in place. That is worth noticing early, while the layout can still change.




 Send Inquiry


